
Spotify Playlist of the Week: Gift of a Friend
August 14, 2017
5 Tips for Helping Children with Autism Spectrum Disorder Prepare for the New School Year
August 16, 2017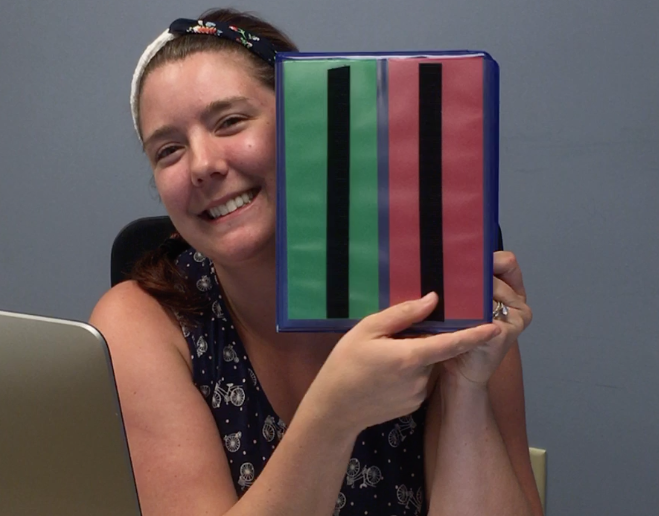
Hello, everyone!
Since we’ve gotten so much wonderful feedback on a couple of our recent social media posts about our visual schedules, we have decided to do an extra blog post tutorial to help you make them at home! We are in love with these travel binders and are so excited to share such an amazing resource with you, both for music therapists and for parents. And, it’s super simple! Keep reading for more details on how to create these cute mini binders and links to the supplies that we used.
Materials: (click on the bolded items for a direct link to the product)
mini 1″ 3-ring binder with storage pocket (1)
mini write-on tab dividers (2 pks)
VELCRO sticky back tape (1 roll)
scissors
laminator
laminating sheets
PECS/visual pictures
(optional) label maker
Directions:
| 1 | Make sure to peel off any labels on your mini binder. Open your tab dividers and insert them into the binder. We chose to use 2 packs of dividers (10 pages total) because we found that one pack wasn’t enough. (For the majority of the pages, we only put velcro on one side, just to keep it more organized and to prevent any of the visuals from catching on each other.)
| 2 | Open up your box of velcro sticky tape. If you’ve ever used this stuff before, you know
it goes quickly. We used almost an entire box just on one binder. But, we included a link in the materials above to the cheapest velcro we could find. We can’t keep up with this stuff! When using velcro…always make sure to put the SOFT side on the item that you will be pulling OFF, and the HARD side on the more permanent item. For example, the hard velcro will go on the pages and the soft velcro will go on each individual visual. Since we always use more of the hard velcro, we found it easiest to cut the entire roll of velcro in half down the center, so that you have one roll of hard velcro and one roll of soft velcro.
| 3 | Nex t, cut strips of HARD velcro to match the length of the tab dividers. We put two strips on the front of each tab divider. (Again, we avoided putting velcro on front and back simply to make sure that none of the visuals were catching on each other.) Peel off the film on the back of the HARD velcro and stick 2 strips equally spaced on each divider.
| 4 | Print out the green and red cover visual and laminate it. Cut to fit the size of your mini binder. Slip the laminated sheet into the front cover of your binder. Then, add two  strips of hard velcro to the outside cover of the binder, one in the middle of the green and one in the middle of the red. This is your visual schedule. The purpose of the green is to signify the items of the schedule that are left to complete. The red signifies items that have already been completed. As the client finishes a task, help them move it from green to red. At the beginning of the session, all items should be on green. At the end of the session, all items should be placed on red. Depending on the needs of our clients, we either have a schedule of items prepared for them when they come in or we ask the client to create their own schedule when they arrive. Use your best judgement!
 | 5 | After those steps have been completed, find your PECS/visual pictures. We partner with the University of Minnesota music therapy clinic and use Boardmaker software to create the majority of our visuals. This is an excellent service that many specialists use to create visuals; however, it is a little tricky to use. There are tutorials on the website that will explain how to create and organize your materials. This software is expensive, so it’s not always reasonable to purchase it. There are definitely other options for creating visuals. For example, Teachers Pay Teachers is a wonderful website that has generic options for visual items at a cheaper price. PARENTS: You can purchase visuals that are suitable for your child’s home schedules, too. This can include items such as wake up, dinner, bath, clean up, homework, nap, etc. It is also possible to create your own visuals. All you have to do is find a picture that represents what you are looking for and write a short 2-3 word prompt above the visual for what it means. Follow the size guidelines below and you’re all set!
 | 6 | Once you have found your visuals, print them out and laminate them. For our mini travel binders, we use 1 inch x 1 inch pictures. This seems to be the perfect size for our on-the-go visual schedules, since they are smaller. If you decide to do a regular size binder or visual schedule, you may choose to make your visuals bigger. We usually create a little table in Word and drop the pictures into there.

| 7 | Then, cut up your visuals. Take the strip of SOFT velcro and cut it up into small squares. Remove the film off of the velcro and place a small square on the back of each visual.
| 8 | Think about how you want to organize your visuals. We organized ours like this:
- Page 1: Hello/goodbye/music time visuals

- Page 2: Activities: scarves, parachute, instruments, shakers, singing, dancing, movement, book, music game, etc.
- Page 3: Songs: Old Macdonald, Ants Go Marching, Wheels on the Bus, etc.
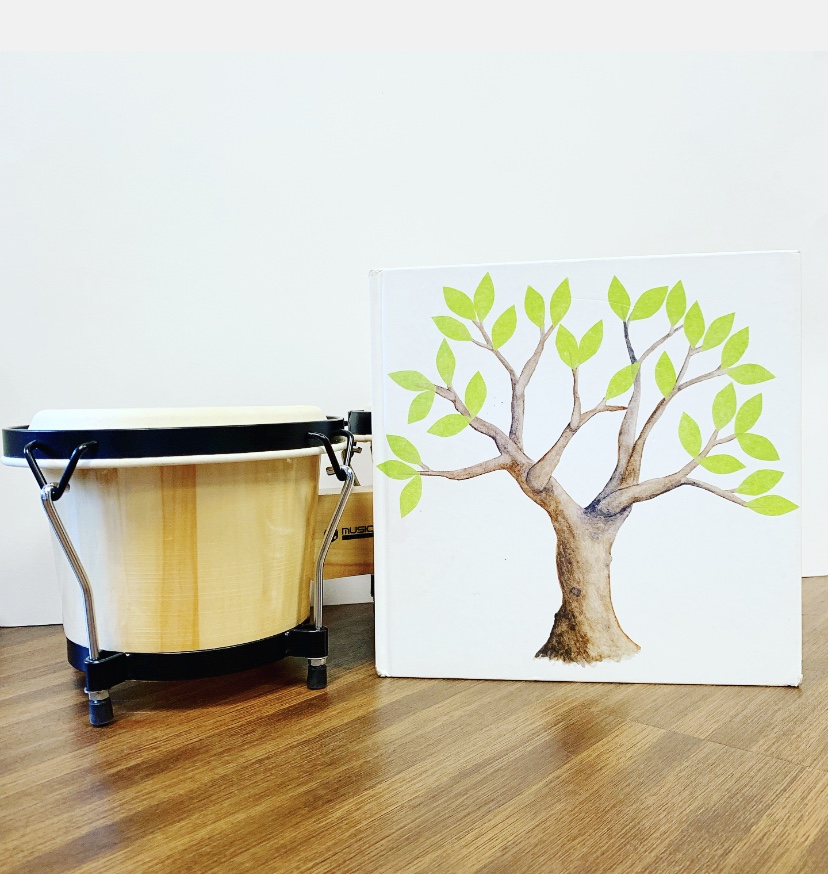
- Page 4: Instruments: guitar, ukulele, piano, kazoo, cabs, rhythm sticks, drum, shakers, boomwhackers, etc.
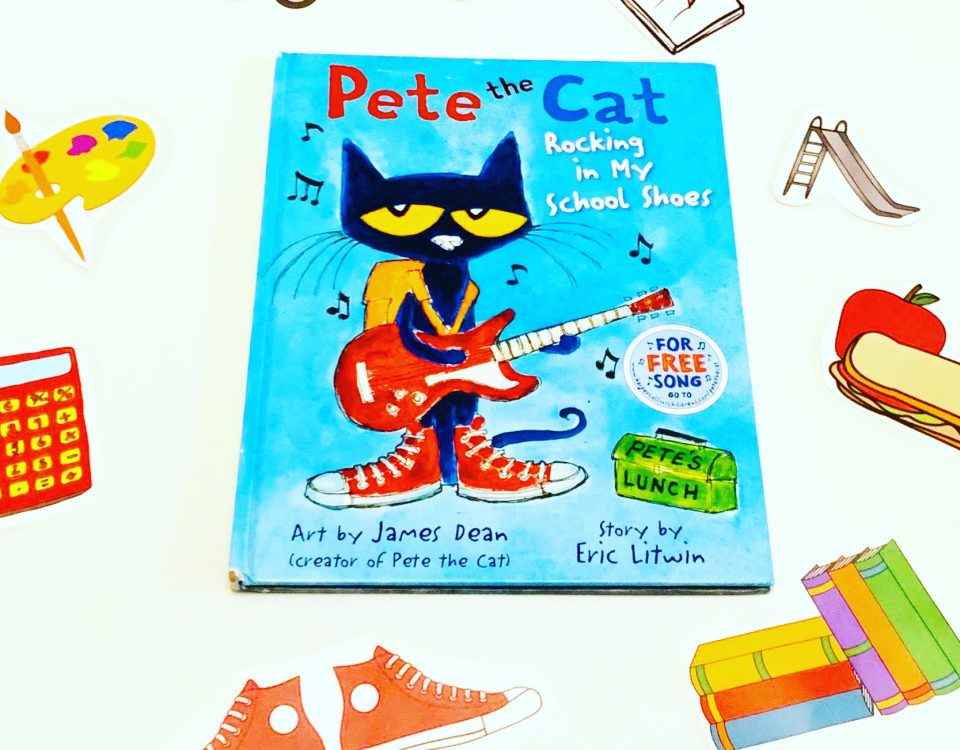
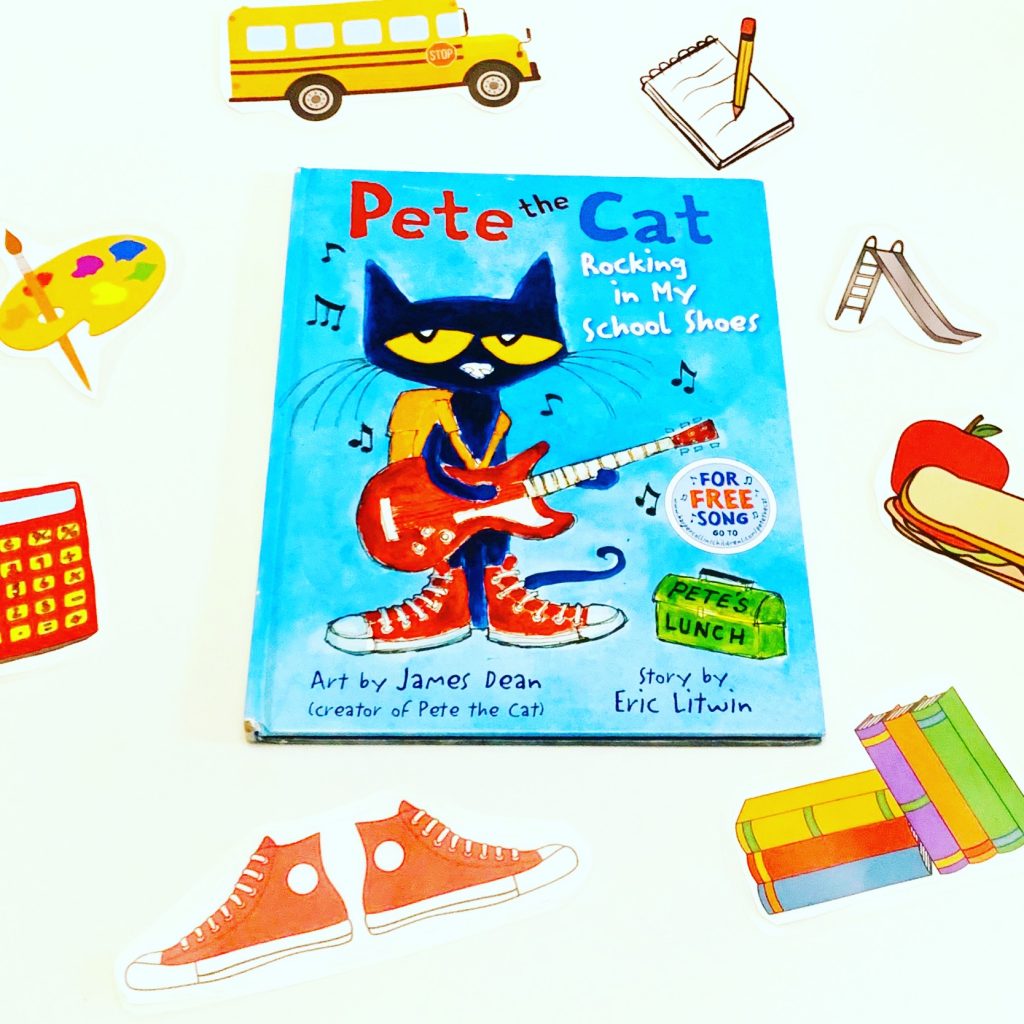
- Page 5: Books: Animal Boogie, We All Go Traveling By, Ain’t Gonna Paint No More, etc.
- Page 6: Sign Language: I want, my turn, please, all done, more, etc.
- Page 7: Sensory: bre
 ak, iPad, bouncy ball, fidget, etc.
 - Page 8: Emotions: happy, sad, mad, etc.
| 9 | Once we knew how we wanted to organize our visuals, we printed out labels using a labelmaker and put them on each tab. However, the tabs that we linked are write-on and erasable, so you don’t need to print labels! You can just write right on them.
| 10 | Place your visuals on the desired pages and put any extras in the folder on the inside cover of your binder.
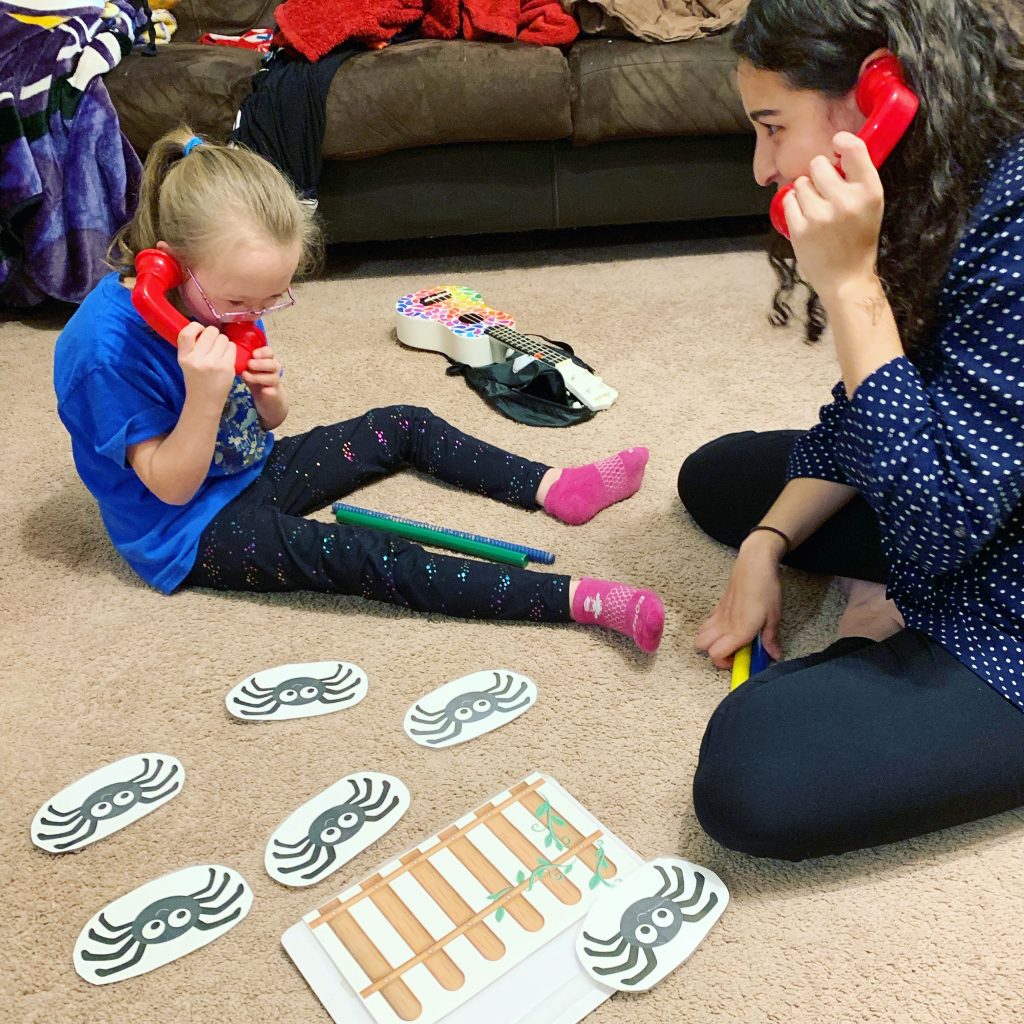
And just like that, you have your own visual schedule and travel binder! Feel free to explore with this project and create something special and unique to your needs and the needs of your clients or kids. We’ve had lots of success using visual schedules in our sessions, and we hope you do to! Here’s how Ms. Lyndie feels about our new binders…
Have a wonderful week!
Lacey Reimnitz | Toneworks Music Therapy Intern
